The Honeywell VisionPro 8000 is a touchscreen, 7-day programmable thermostat with humidity control, RedLINK technology, and compatibility for both residential and commercial systems, offering smart home integration and efficient temperature management.
1.1 Key Features and Benefits
The Honeywell VisionPro 8000 offers advanced features like a large backlit display for easy readability, menu-driven programming for simple setup, and Adaptive Intelligent Recovery for efficient temperature control. It also includes humidity management and RedLINK technology for wireless system integration. These features provide precise climate control, energy efficiency, and seamless compatibility with both residential and commercial HVAC systems.
1.2 Compatibility with Residential and Commercial Systems
The Honeywell VisionPro 8000 is designed to work seamlessly with both residential and commercial HVAC systems. Its universal compatibility allows it to integrate with a wide range of equipment, including conventional and heat pump systems. The thermostat can be configured to meet the specific needs of either application, ensuring efficient temperature control and adaptability for various environments and system requirements.
System Requirements and Pre-Installation Checklist
Verify compatibility with your HVAC system, ensure proper power supply, and gather necessary tools and materials before starting the installation process to ensure a smooth setup.
2.1 Tools and Materials Needed
- Drill and drill bits for wall mounting.
- Wall anchors and screws for secure installation.
- Screwdriver for wiring connections.
- Wire strippers for preparing wires.
- Voltage tester to ensure power is off.
- Level to ensure proper thermostat alignment.
- Optional: Wallplate for covering marks from previous installations.
Ensure all materials are compatible with your system for a safe and efficient setup.
2.2 Understanding System Compatibility
The Honeywell VisionPro 8000 thermostat is designed for compatibility with a wide range of heating, cooling, and ventilation systems, including gas, oil, and heat pumps. It supports both single-stage and multi-stage systems, as well as humidity control systems. The thermostat is versatile for residential and light commercial applications, ensuring it can adapt to various HVAC configurations. Proper system identification is crucial for accurate installation and operation.
Wiring and Electrical Connections
Ensure power is off before wiring. Connect terminals (R, Rh, Rc, W, Y, G, O, B, C) as per the system type. Avoid short circuits; verify connections.
3.1 Step-by-Step Wiring Guide
Turn off power to the HVAC system at the circuit breaker.
Identify and label existing wires using the terminal designations (R, Rh, Rc, W, Y, G, O, B, C).
Connect wires to the corresponding terminals on the VisionPro 8000.
Ensure proper connections to avoid short circuits.
Refer to the wiring diagram for specific configurations.
Turn power back on and test system operation.
3.2 Wiring Diagrams for Conventional Systems
The wiring diagrams for conventional systems provide a visual guide for connecting the VisionPro 8000 thermostat. They detail terminal designations (R, Rh, Rc, W, Y, G, O, B, C) and their functions; Color-coded wires are matched to specific terminals, ensuring proper system operation. Diagrams are included in the manual for various configurations, such as 2-wire, 4-wire, and heat pump systems, helping installers avoid errors during setup.
Mounting the Thermostat
Mounting the Honeywell VisionPro 8000 involves securing the wallplate, attaching the thermostat, and ensuring a level fit. Use the provided cover (Part 32003796-001) to conceal marks from previous installations.
4.1 Preparing the Wall for Installation
Before mounting, ensure the wall is clean, dry, and free of debris. Use the provided cover plate (Part 32003796-001) to conceal marks from previous installations. Check for wiring or plumbing behind the wall to avoid damage. Ensure the surface is level and sturdy to support the thermostat securely. Proper preparation prevents issues during installation and ensures a professional finish.
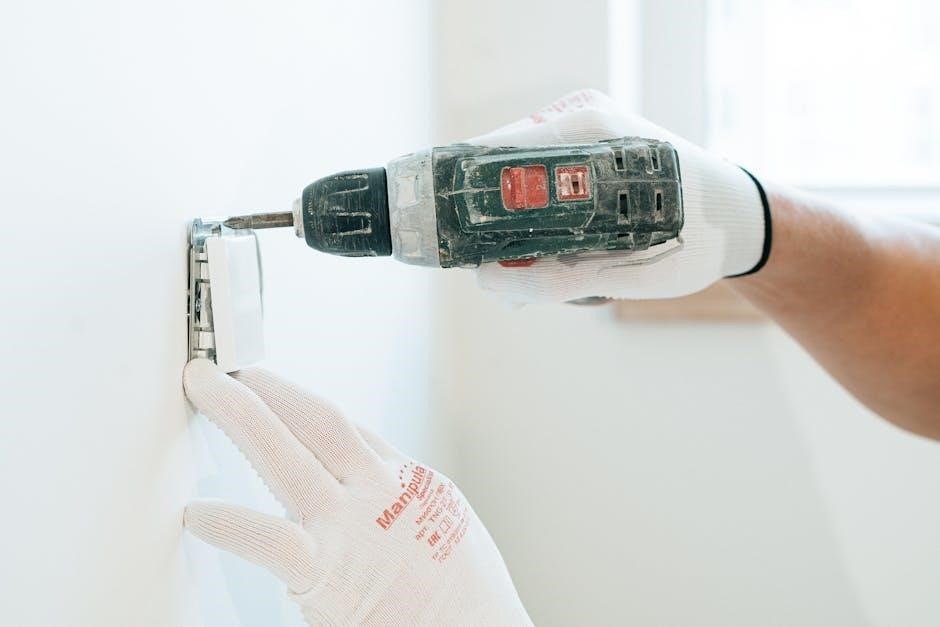
4.2 Mounting the Thermostat Unit
Align the thermostat unit with the wall plate, ensuring it clicks securely into place. Gently press until it snaps firmly, ensuring all connections are stable; Check the display for proper alignment and functionality. If using a battery-only setup, insert the batteries as instructed. Ensure the unit is level and secure to guarantee accurate temperature readings and optimal performance.
Installer Settings and Configuration
Access installer options via the menu, enter the password, and configure settings like system type and preferences to optimize performance.
5.1 Accessing Installer Options
To access installer options, navigate to the menu, select “Installer Options,” and enter the password, typically the product’s date code. This grants access to advanced settings like system type, temperature limits, and sensor configurations. Follow on-screen prompts to adjust these settings, ensuring optimal system performance and compatibility with your specific HVAC setup.
5.2 Configuring Installer Settings
After accessing the installer menu, configure settings such as system type (residential or commercial), temperature limits, and sensor inputs. Use the touchscreen interface to adjust parameters like heating and cooling stages, fan operation, and humidity control. Ensure settings align with your HVAC system to optimize performance and prevent issues like rapid compressor cycling. Save changes to finalize the configuration.
Network and Wi-Fi Setup
This section guides you through connecting the Honeywell VisionPro 8000 to your Wi-Fi network and configuring network settings for smart home integration and remote control functionality.
6.1 Connecting to the Wi-Fi Network
To connect the Honeywell VisionPro 8000 to your Wi-Fi network, navigate to the menu, select “Wi-Fi Setup,” and choose your network from the available options. Enter your network password using the touchscreen keypad. Ensure the network name (SSID) is correct and the thermostat is within range of your router. If issues arise, restart the thermostat and retry the connection process.
6.2 Linking with Wireless Accessories
To link wireless accessories with the Honeywell VisionPro 8000, ensure the thermostat is connected to Wi-Fi. Access the menu, select “RedLINK Accessories,” and choose the type of accessory you wish to connect. Follow the on-screen prompts to pair the device. Ensure the accessory is in pairing mode and within range. If issues occur, restart the thermostat and retry the pairing process to establish a stable connection.
Sensor Installation and Configuration
Install sensors like the outdoor temperature sensor to enhance system accuracy. Configure settings through the thermostat menu to ensure proper calibration and operation of all connected devices.
7.1 Installing the Outdoor Temperature Sensor
Mount the outdoor temperature sensor in a shaded area to avoid direct sunlight. Ensure the sensor is level and securely fasten it using provided hardware. Connect the sensor wires to the thermostat’s designated terminals, following the wiring diagram. Apply silicone sealant around the wiring to prevent moisture ingress. Finally, configure the sensor settings in the thermostat menu to ensure accurate temperature readings and optimal system performance.
7.2 Configuring Sensor Settings
Navigate to the sensor settings menu on the Honeywell VisionPro 8000 thermostat. Select the outdoor temperature sensor option and choose the appropriate sensor type. Adjust sensitivity and temperature thresholds as needed. Calibrate the sensor for accuracy by following on-screen instructions. Set update intervals and integrate with the RedLINK system for wireless functionality. Save configurations to ensure proper system operation and accurate temperature readings.
Programming the Thermostat
Program schedules and preferences easily with the Honeywell VisionPro 8000. Its Adaptive Intelligent Recovery learns your system’s behavior to optimize heating and cooling efficiency and comfort.
8.1 Setting Up Schedules and Preferences
Setting up schedules and preferences on the Honeywell VisionPro 8000 is straightforward. Use the touchscreen interface to create 7-day programs, adjusting temperature settings for different times of the day. The thermostat also allows you to customize preferences like humidity levels and system modes. Adaptive Intelligent Recovery learns your system’s behavior to optimize heating and cooling efficiency, ensuring comfort while saving energy. The menu-driven programming makes it easy to tailor settings to your lifestyle.
8.2 Understanding Adaptive Intelligent Recovery
Adaptive Intelligent Recovery is a feature that learns your system’s behavior over time. It calculates the time needed to reach desired temperatures and adjusts operations accordingly, optimizing efficiency. This ensures your home is comfortable when you arrive without unnecessary energy use. The thermostat adapts to your system’s performance, balancing energy savings with consistent comfort levels throughout the day.
Advanced Features and Customization
The Honeywell VisionPro 8000 offers advanced features like the RedLINK system for wireless integration and customizable display settings, allowing users to tailor operation and appearance to their preferences.
9.1 Using the RedLINK System
The RedLINK system enables wireless communication between the VisionPro 8000 thermostat and compatible accessories. This feature allows for seamless integration with wireless temperature sensors and other RedLINK devices, enhancing system performance and flexibility. Users can link accessories without additional wiring, simplifying installation and ensuring reliable communication for optimal climate control in residential and commercial settings.
9.2 Customizing Display and Operation Settings
Customize the VisionPro 8000’s display and operation to suit your preferences. Adjust brightness, enable the backlight, and set temperature limits. Configure operational settings like compressor protection and adaptive recovery. These adjustments enhance user experience and system efficiency, ensuring the thermostat operates optimally based on your specific needs and environmental conditions.

Troubleshooting Common Issues
Address common issues like display malfunctions, connectivity problems, or sensor errors. Check wiring, power supply, and reset options. Consult the manual for diagnostic steps and solutions.
10.1 Diagnostic Techniques
Identify issues by checking wiring connections, power supply, and sensor functionality. Use the installer menu to access error codes and run system tests. Ensure proper installation and configuration, and verify that all components are compatible. Refer to the manual for specific diagnostic procedures and troubleshooting guides to resolve common problems efficiently.
10.2 Resolving Common Installation and Operation Problems
Common issues include incorrect wiring, power supply problems, or sensor malfunctions. Check connections, ensure proper power, and verify sensor accuracy. Restart the thermostat or reset settings if necessary. For persistent issues, consult the manual or contact Honeywell support. Addressing these problems promptly ensures optimal performance and prevents system damage, ensuring reliable temperature control and energy efficiency.

Maintenance and Warranty Information
Regularly clean the thermostat and check battery levels. Refer to the warranty for coverage details, typically 5 years for parts. Proper installation ensures warranty validity.
11.1 Routine Maintenance Tips
Regular maintenance ensures optimal performance. Clean the thermostat display gently and check sensors for accuracy. Update software periodically for new features. Inspect wiring connections and ensure they are secure. Replace batteries as needed and avoid extreme temperature exposure. Recalibrate the thermostat if temperature readings seem off. Refer to the manual for detailed maintenance procedures to prolong the device’s lifespan effectively.
11.2 Understanding the Warranty and Support Options
The Honeywell VisionPro 8000 thermostat is backed by a limited warranty covering defects in materials and workmanship. For support, contact Honeywell Customer Care at 1-800-468-1502 or visit yourhome.honeywell.com. Extended support options and online resources, including manuals and FAQs, are available to ensure optimal performance and troubleshooting assistance.